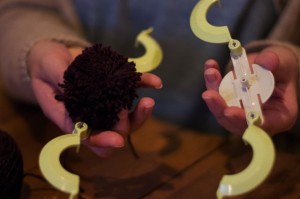
With the holiday knitting season in full swing there are so many great little projects to be made for friends and family. One of my favorites of the moment is the hat and I’ve been particularly smitten with the pompom embellishment. Pompom’s are also a lovely ornament, wrapping embellishment, or perhaps (if you are feeling ambitious) a garland! My husband asked me yesterday if all hats made for our child HAD to have a pom pom. Yes, I answered. Yes they do.
There are a couple of ways to put together a pompom but my personal favorite is via the Pompom Maker by Clover. I’ve been told you can make a pompom using cardboard but I find the Clover version super easy and it makes a nice even pompom with a good spherical shape. The mechanism itself, however, does not appear easy to use on first glance so I thought I might try to simplify with this little pompom tutorial. Thanks for being my lovely assistant Kynna!
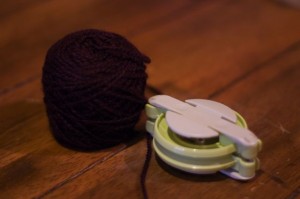
Step 1: Get yourself some yarn and a pompom maker (there are 4 sizes, this is the 2nd largest)
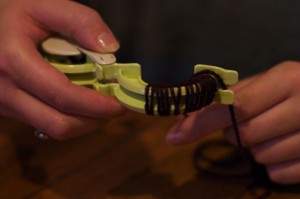
Step 2: open the maker and start wrapping the yarn around one side.
Step 3: Wrap wrap wrap! Even though it feels like the pompom is eating yarn, you really want a nice full pompom so create a nice thick layer.
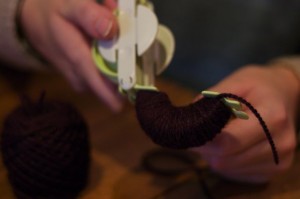
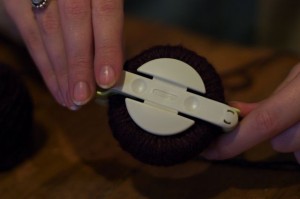
Step 4: Close the first side and open the second side. Wrap your yarn around the second side to about the same thickness as the first.
Step 5: Close the second side. You will now have a nice full pompom maker.
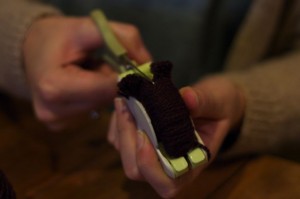
Step 6: Take your scissors and cut as seen below.
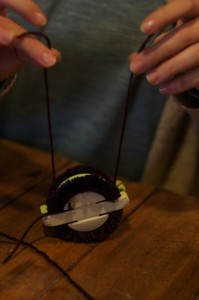
Step 7: Take a piece of yarn and tie it around the middle of the pompom maker.
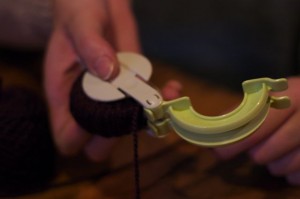
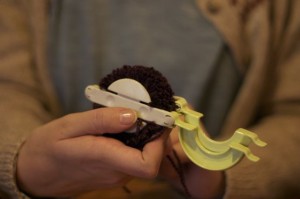
Step 8: Open both sides of the maker.
Step 9: Pull the maker apart and release the pompom!
Done!
